Red Blockout Pen – Pinhole & Touch-Up Pen for Solvent and UV Screen Printing
First Print Inc.

The Red Blockout Pen is a precision screen prep tool designed for solvent ink and UV ink screen printing applications. Built to handle aggressive ink systems, this blockout pen allows screen printers to quickly cover pinholes, stencil flaws, and unwanted open mesh areas—helping prevent ink bleed, blowouts, and costly reprints.
Formulated specifically for solvent and UV inks, the Red Blockout Pen creates a strong, reliable barrier that holds up under demanding print conditions. Its fine-tip applicator provides excellent control, making it easy to target even the smallest imperfections without affecting surrounding stencil detail.
This blockout pen is ideal for shops running solvent, UV, or mixed ink systems where durability and precision are critical. After printing, the blockout removes easily during the reclaim process using standard screen cleaning chemicals, leaving mesh clean and ready for reuse.
$14.99
Description
Technical Specifications
Directions for Using a Blockout Pen to Clean Up Pinholes on Exposed Emulsion:
- Preparation:
- Ensure that your screen has been properly exposed and washed out, leaving behind your desired image or design.
- Allow the screen to dry completely before proceeding to the blockout process.
- Inspect for Pinholes:
- Carefully examine your exposed screen for any pinholes, tiny imperfections, or areas where ink might seep through during printing.
- Pinholes are often visible as small, light spots in the emulsion.
- Gather Your Supplies:
- Obtain a blockout pen suitable for use with your specific emulsion type. Ensure it is compatible with the type of ink you intend to use.
- Have a clean, dry cloth or paper towel on hand for any potential spills.
- Test on Scrap Material:
- If you’re new to using the blockout pen, practice on a scrap piece of fabric or paper to familiarize yourself with its flow and application.
- Application:
- Hold the blockout pen like you would hold a regular pen, ensuring a firm but controlled grip.
- Gently shake the pen to activate the ink and ensure even flow.
- Starting at one end of the pinhole, gently touch the pen’s tip to the exposed emulsion.
- Using light pressure, trace over the pinhole with the pen, covering the area with a thin, even layer of blockout ink.
- Continue tracing the pinhole until it is completely covered. Take care not to apply too much pressure, as this could damage the emulsion.
- Drying:
- Allow the blockout ink to dry completely. This usually takes a few minutes, but drying times may vary based on humidity and other environmental factors.
- Inspection:
- After the blockout ink has dried, inspect the covered pinhole to ensure it has been adequately sealed. If any areas appear thin or incomplete, you can apply an additional layer of blockout ink.
- Curing (if applicable):
- If the blockout ink you’re using requires curing, follow the manufacturer’s instructions for proper curing time and temperature.
- Clean the Pen:
- After you’ve finished applying blockout to all pinholes, wipe the pen’s tip clean with a dry cloth or paper towel. Recap the pen to prevent it from drying out.
- Final Touches:
- Once all pinholes have been addressed and the blockout is dry and cured (if necessary), your screen is ready for the printing process.
Remember, practice makes perfect. As you become more comfortable using the blockout pen, you’ll develop a steady hand and better control over the application process. Properly sealing pinholes with a blockout pen ensures your prints are crisp, clean, and free from unwanted imperfections.
Technical Sheets / Safety Data Sheets / Documents
FREQUENTLY ASKED QUESTIONS
Reviews
Only logged in customers who have purchased this product may leave a review.
You May Also Like
Related products
-
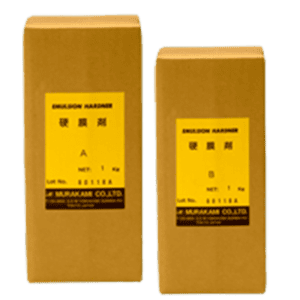
Murakami Emulsion Permanent Hardener A&B Quart Kit – Two-Part Stencil Hardener for Extreme Durability
$49.99 -
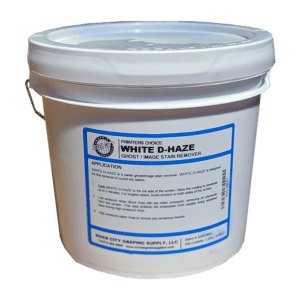
Printers Choice White D-Haze Remover – Powerful Ghost and Stain Remover for Screen Printing
Price range: $29.99 through $349.95 -
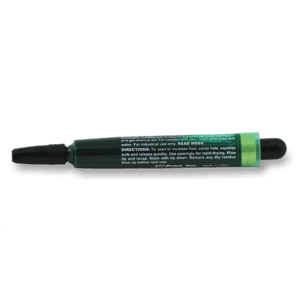
Green Blockout Pen – Pinhole Filler for Plastisol Screen Printing
$14.99 -
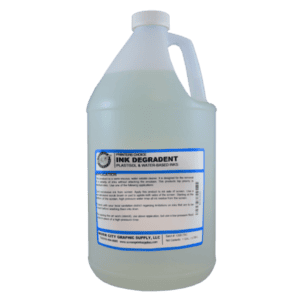
Printers Choice Ink Degradent – Liquid Ink Remover for Screen Printers
Price range: $14.99 through $169.99
Reviews